Node.js WiFi-Extending Robot Fork
Developed 2011/05/01 - 2012/04/10. Published 2012/07/12.

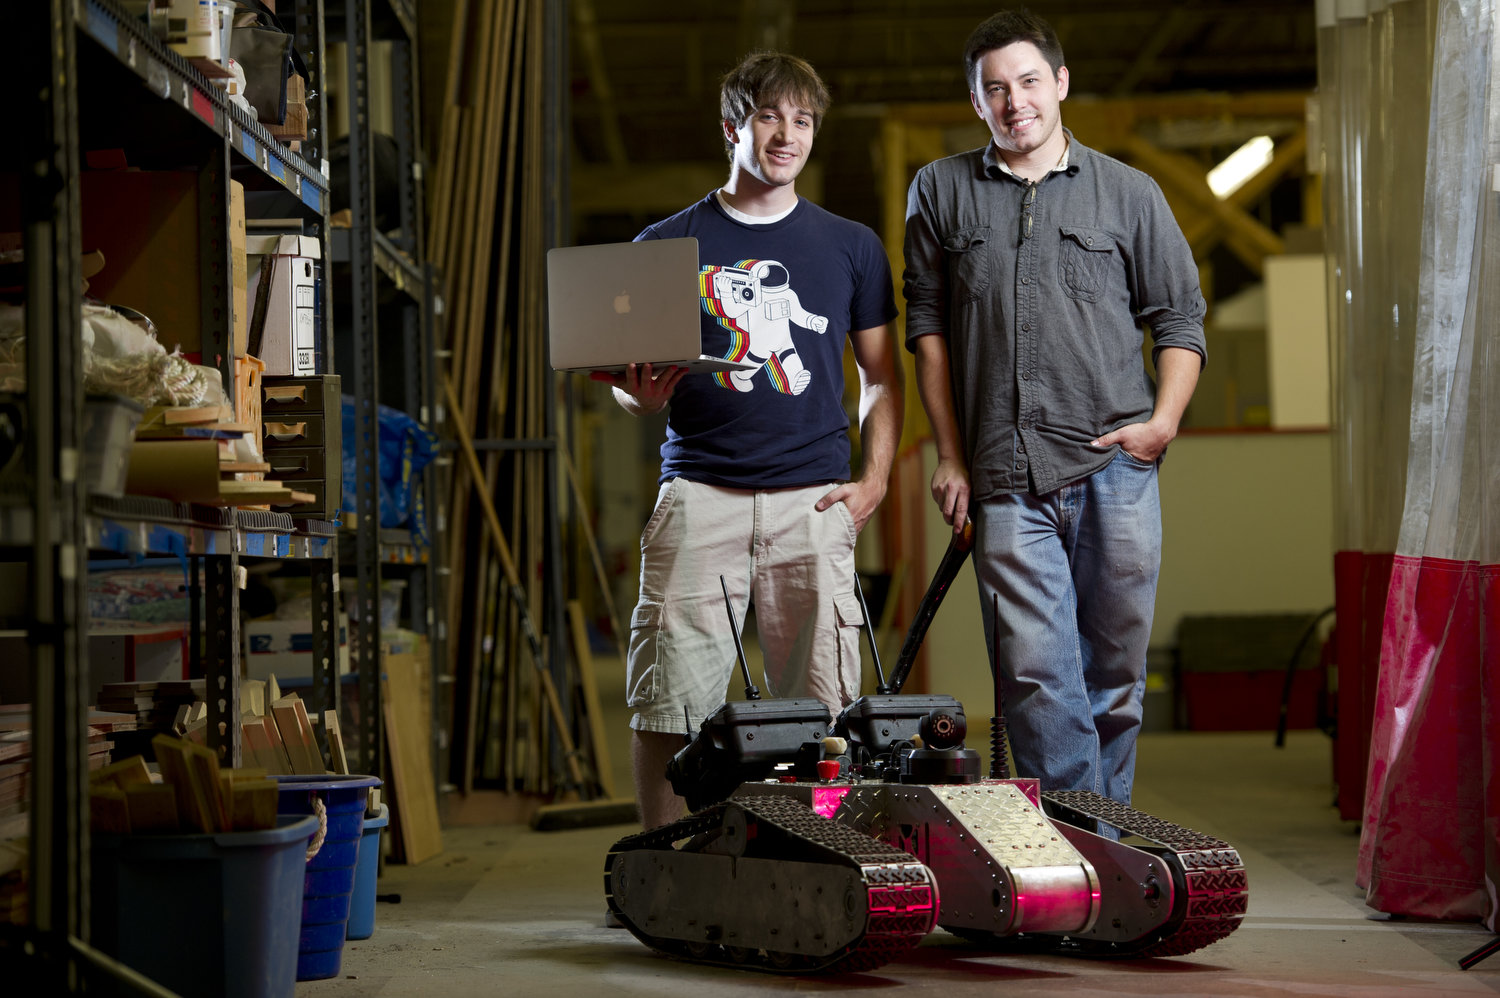
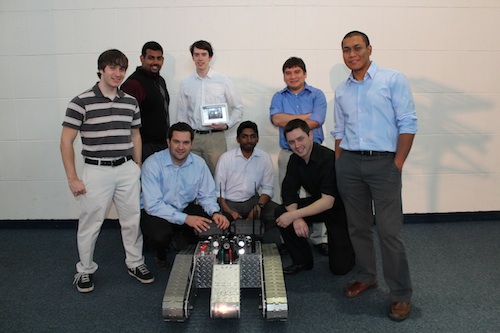
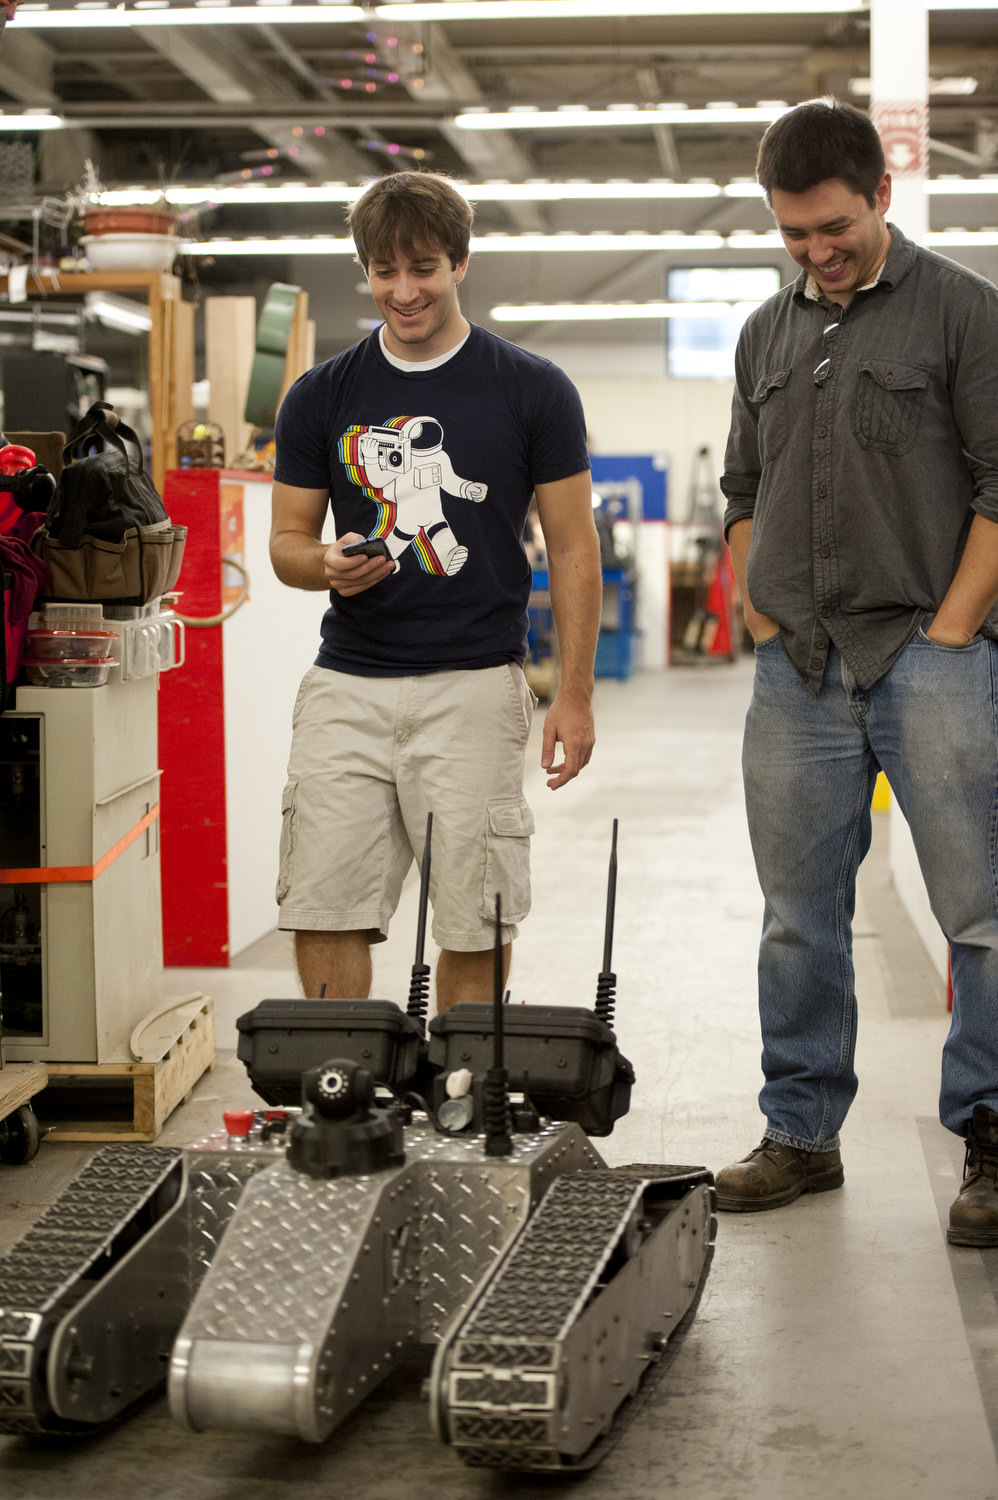
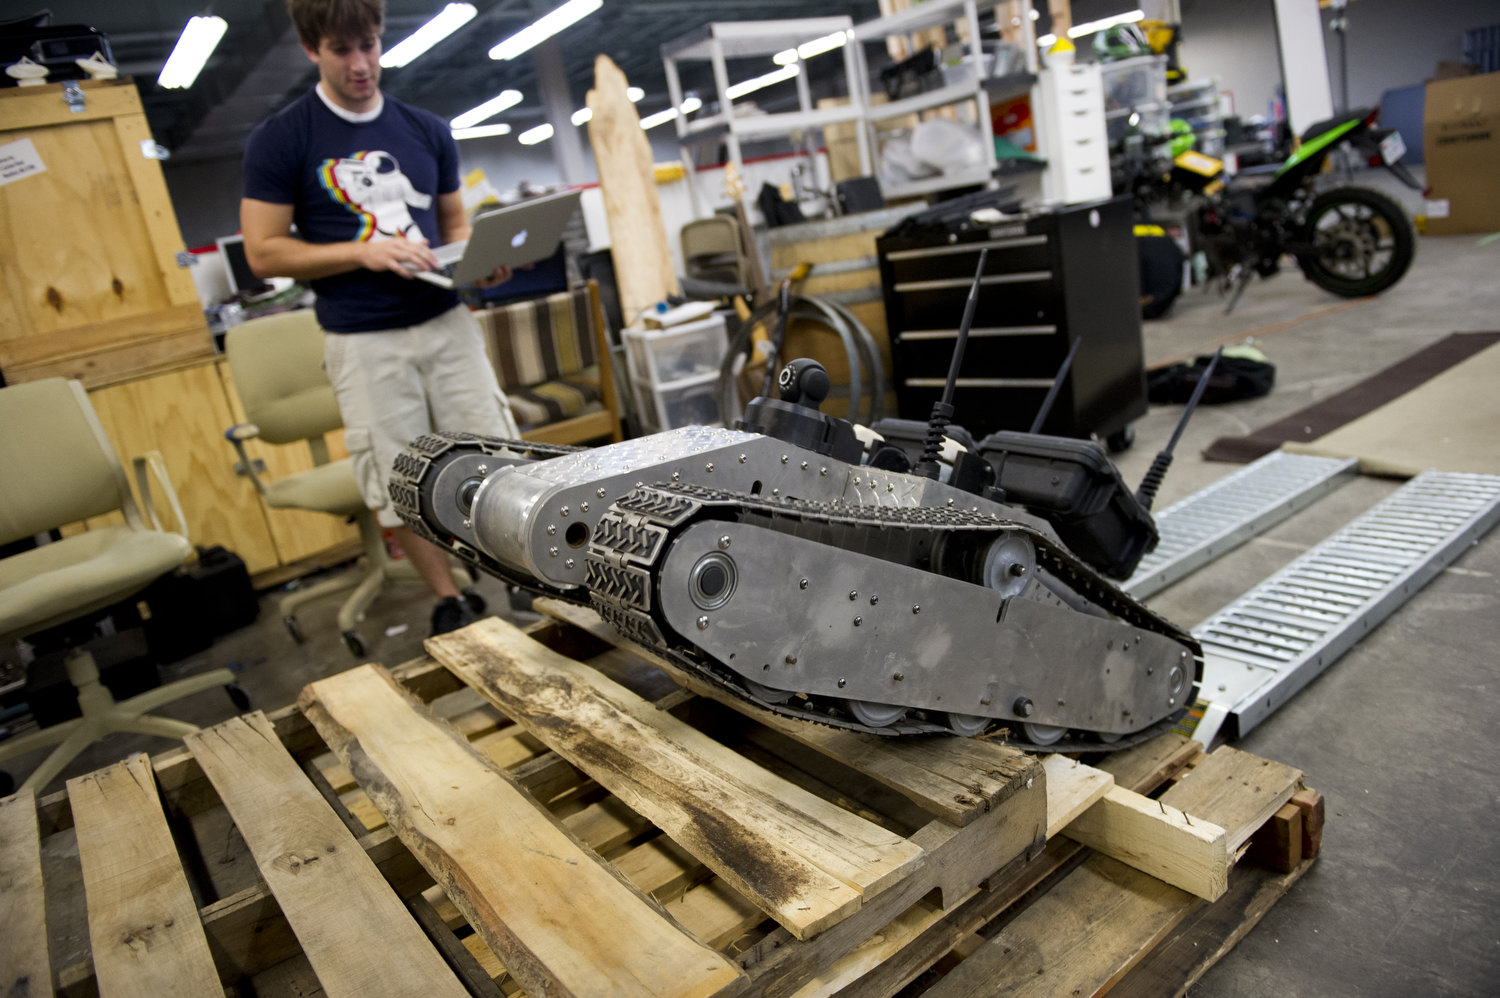
The beast above is a robotic system intended to be operated remotely in hazardous areas where network infrastructure is scarce. The robot is controlled over a WiFi network that originates on the robot and is extended by dropping the black repeater units on its back. I and seven other computer and electrical engineers built this monster as part of a senior design project at Northeastern University.
Quick Overview
- Robot controlled over WiFi
- 40" long, 28" wide, 16" tall, about 150 lbs.
- Custom-built (except for treads) out of aluminum
- Range: 1 km with one on-board router and two droppable long-range repeater modules
- Running time: ~12 hours
- On-board webcam with microphone, night vision, pan and tilt
- On-board GPS for location tracking
- Custom-made remote user interface, works on any device with a web browser
- Built with an EEE PC running Ubuntu, Arduino, and Node.js
- Total cost: ='(
For God's sake WHY?
In the summer of 2011, we began what is known at Northeastern University as our Capstone design program. This is a senior project where we apply our computer and electrical engineering knowledge to some project. The project could be anything we wanted, and we wanted a giant robot. In my previous robotic project, my partner and I happened upon a few research papers and calls for proposals to build WiFi-deploying robots for use in military applications. It turns out that having ad-hoc WiFi networks can really come in handy in military operations and in disaster-affected areas, where physical network infrastructure may have been damaged.
Our group thought that the need for a WiFi deployment system was high enough to justify further exploration, and eventually we hit upon the idea that we could also use a robot to deploy a network while doing reconnaissance, and that this robot could also be controlled over the network it was deploying. This was a sufficiently interesting idea for us to start work.
The Design
In essence, this project is a robotic system for reconnaissance and WiFi network deployment. There are three main parts to it: the WiFi deployment system, the physical robot, and the robotic controls / operator interface.
WiFi Deployment System

Probably the most interesting part of this project, and unfortunately the least-developed, is the WiFi deployment system. We decided early on that it would be best to have a WiFi network as opposed to another band as this would ensure maximum compatibility with the largest number of off-the-shelf devices. This way, any consumer device could connect to our network, and we could use consumer devices in our robot's construction.
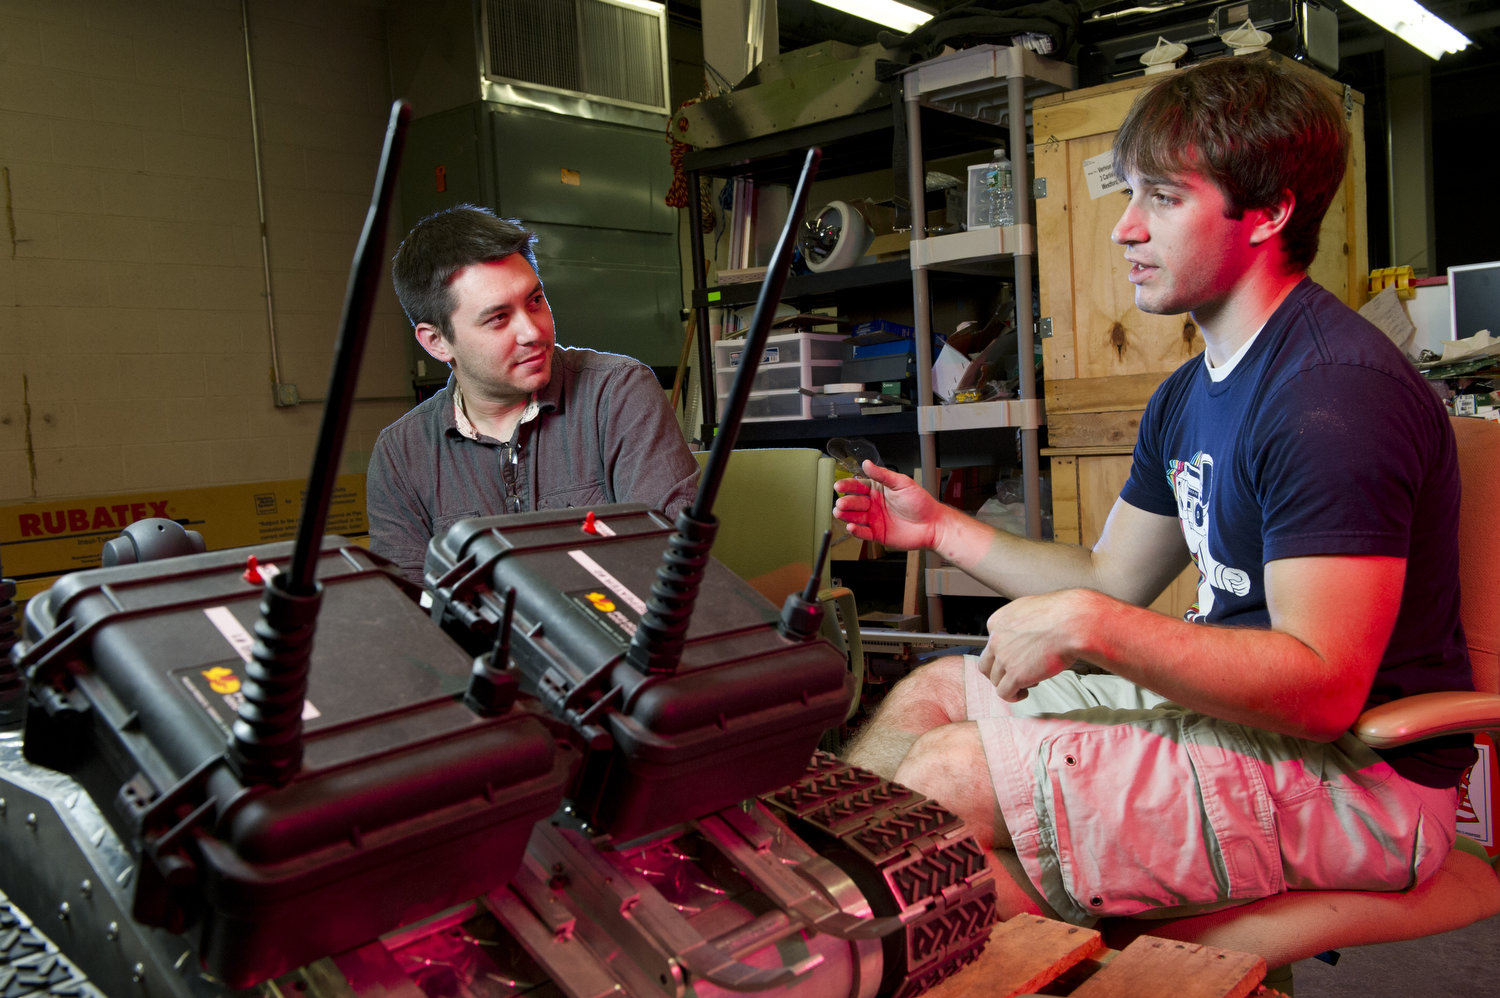
Ideally, each repeater module in our network would be tiny and able to be dropped in any order. This would give us a robust network of theoretically infinite size. Unfortunately, cheap, off-the-shelf WiFi repeater units are not available and the network configuration for the devices we did find was extremely difficult, so we decided to use consumer-grade Linksys routers loaded with the open-source dd-wrt firmware. Using dd-wrt, we were able to configure these routers as network repeaters. To lengthen their range, we used long-range antennas, power amplifiers, and 14.8V lithium-polymer batteries. Finally, we put all this in a Pelican case to protect them from the elements. These are attached to aluminum skis and fastened to the robot with a 3D-printed latch mechanism that is actuated by a solenoid.

In this scheme, each repeater repeats the on-board router's WiFi signal. Any device with a WiFi card can then connect to this repeated signal and communicate with other devices in the network, including our robot if they have the correct credentials.
The Robot
Our entire robot assembly is custom-built from scratch, as there were no reasonably-priced off-the-shelf robots that could perform the functions we needed. It was constructed out of aluminum at a hacker space called Artisan's Asylum with a healthy amount of blood and tears.
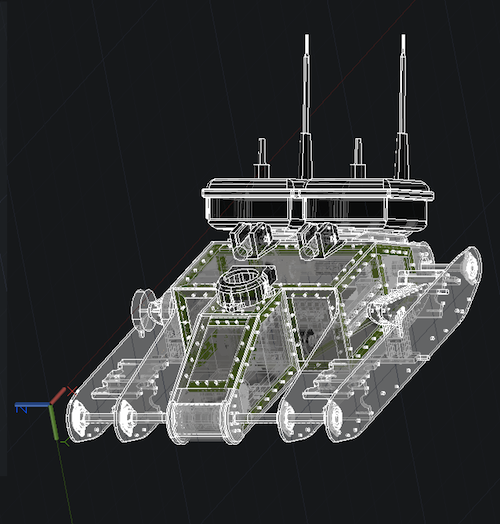
It is a little more than 3 feet long, 2 feet wide, and weighs about 150 pounds. It has carried at least a 200 pound person on its back with no complaint. It can go roughly 8-10 mph at top speed. We suspect that with a more powerful motor controller, we would be able to climb a set of stairs, thanks in large part to its impeccably-designed center-of-gravity. It did not require any welding, only tapping, to build. In short, this thing is indestructible (except, like the Wicked Witch of the West, when exposed to water).
Note carefully that I didn't mention any mechanical engineers in our group. This is because there were none. Our entire robot was designed and built almost single-handedly by my previous partner in crime who is responsible for the wooden robot, Dan Landers. In several months he accomplished the following: hundreds of iterations of 3D design in CAD software, built a full-size wooden prototype as a proof-of-concept, learned to work with metal, and finally built the exact physical manifestation of his 3D model in metal using a CNC machine and waterjet cutter, without ever having done something like this before. He is an amazing specimen that is now helping out with a 14-foot rideable hexapod. I tremble to think what he will work on next.
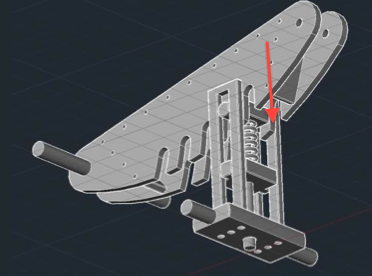
One really neat thing my partner custom-designed and built is a mechanical device called a tensioner. In its normal form, this thing takes up slack in something such as a chain (like on a bicycle). In this case, it gives tension to our robot's treads. When our robot runs over an obstacle the treads deform, causing them to tighten around the sprockets and load-bearing wheels. With this tensioner, most of that squeezing force goes into squeezing the spring in the direction indicated by the arrow. This helps the treads stay firmly on our robot, just where they should be.
As for the electrical components, our robot is powered by a battery of nine 14.8V Lithium Polymer, er, batteries for a total of 45Ah. These are stepped down to 12V using a DC-to-DC converter in order to power both our on-board peripherals and 12V brushed DC motors. We custom-built an H-Bridge for our motor controls (quite a project!), but this proved to be the source of a lot of issues. We watched many times as the magic smoke left our electronic components from the massive current our motors drew on startup. In the future, we would probably look more into an off-the-shelf motor driver, despite their expense. The H-bridge is attached to an Arduino that outputs PWM signals. The Arduino is attached via serial port to the brains of the robot, our EEE PC (which is snuggled lovingly inside a Pelican box).
Software / User Interface

Since our hardware is made up of heterogeneous components cobbled together, we needed software to let all these things talk to each other. That was my job. As the only person with extensive software experience, I had the privilege of writing all the code for this project. This was a great excuse to play around with Node.js and learn JavaScript better.
Here are all the things you can do from the web interface:
- Control the robot's speed and direction using your keyboard's arrow buttons or the web buttons
- View live webcam footage and control it (including pan/tilt, night vision, and audio)
- Drop WiFi repeater units to extend robot's range
- View robot and repeater positions in real-time on a map using on-board GPS
- View repeater signal strengths in real-time
- View the status of the interface's connection to the robot
- Begin replaying the robot's movements backward if it loses its WiFi connection
- Run over everything
So how does this thing work? In order to speed up development time and reduce development complexity, I volunteered my EEE PC running Ubuntu Linux to be the brains of our robot. With its solid-state drive and small form factor, it proved to be a good candidate to stow on-board the robot. From this computer, we ran a node.js web server that served the user interface and communicated with our on-board peripherals.
Given my previous experience in web development, a web interface was the only thing I was qualified to make. Luckily, a web interface has the advantage of working on pretty much any device with a web browser (including laptops, tablets, and phones), which means no specialized hardware is needed to control our robot. And given the recent development of websockets, we were able to control our robot in real-time from a web browser. Also, given that our robot is processing a wide variety of data asynchronously, an event-driven model makes a lot of sense, and this is exactly what node.js provides.
I find it highly amusing that this robot is written almost entirely in JavaScript. To see for yourself view the open source code on Github.
Conclusion
We are all very proud of our accomplishment in building this robot. It performs near flawlessly exactly as we intended and is utterly badass.
If you have any questions, please feel free to email me and I will answer to the best of my abilities.
Here is us looking attractive with our robot:
Updates
May 10, 2013. We are still alive! The WiFi router died, the netbook died, somebody jumped on and broke the antenna during a demo, and we broke the drivetrain by trying to have the robot tow a car, but we are still alive! We ripped out all the broken parts and replaced them with new parts (including replacing the netbook with a Rascal Micro so we're not using node.js anymore) and revamped the user interface so now we can get decent analog control using multitouch on our phones. Check out the video below to see the improved robot in action!
February 15, 2013. We did the Harlem Shake with Artisan's Asylum.
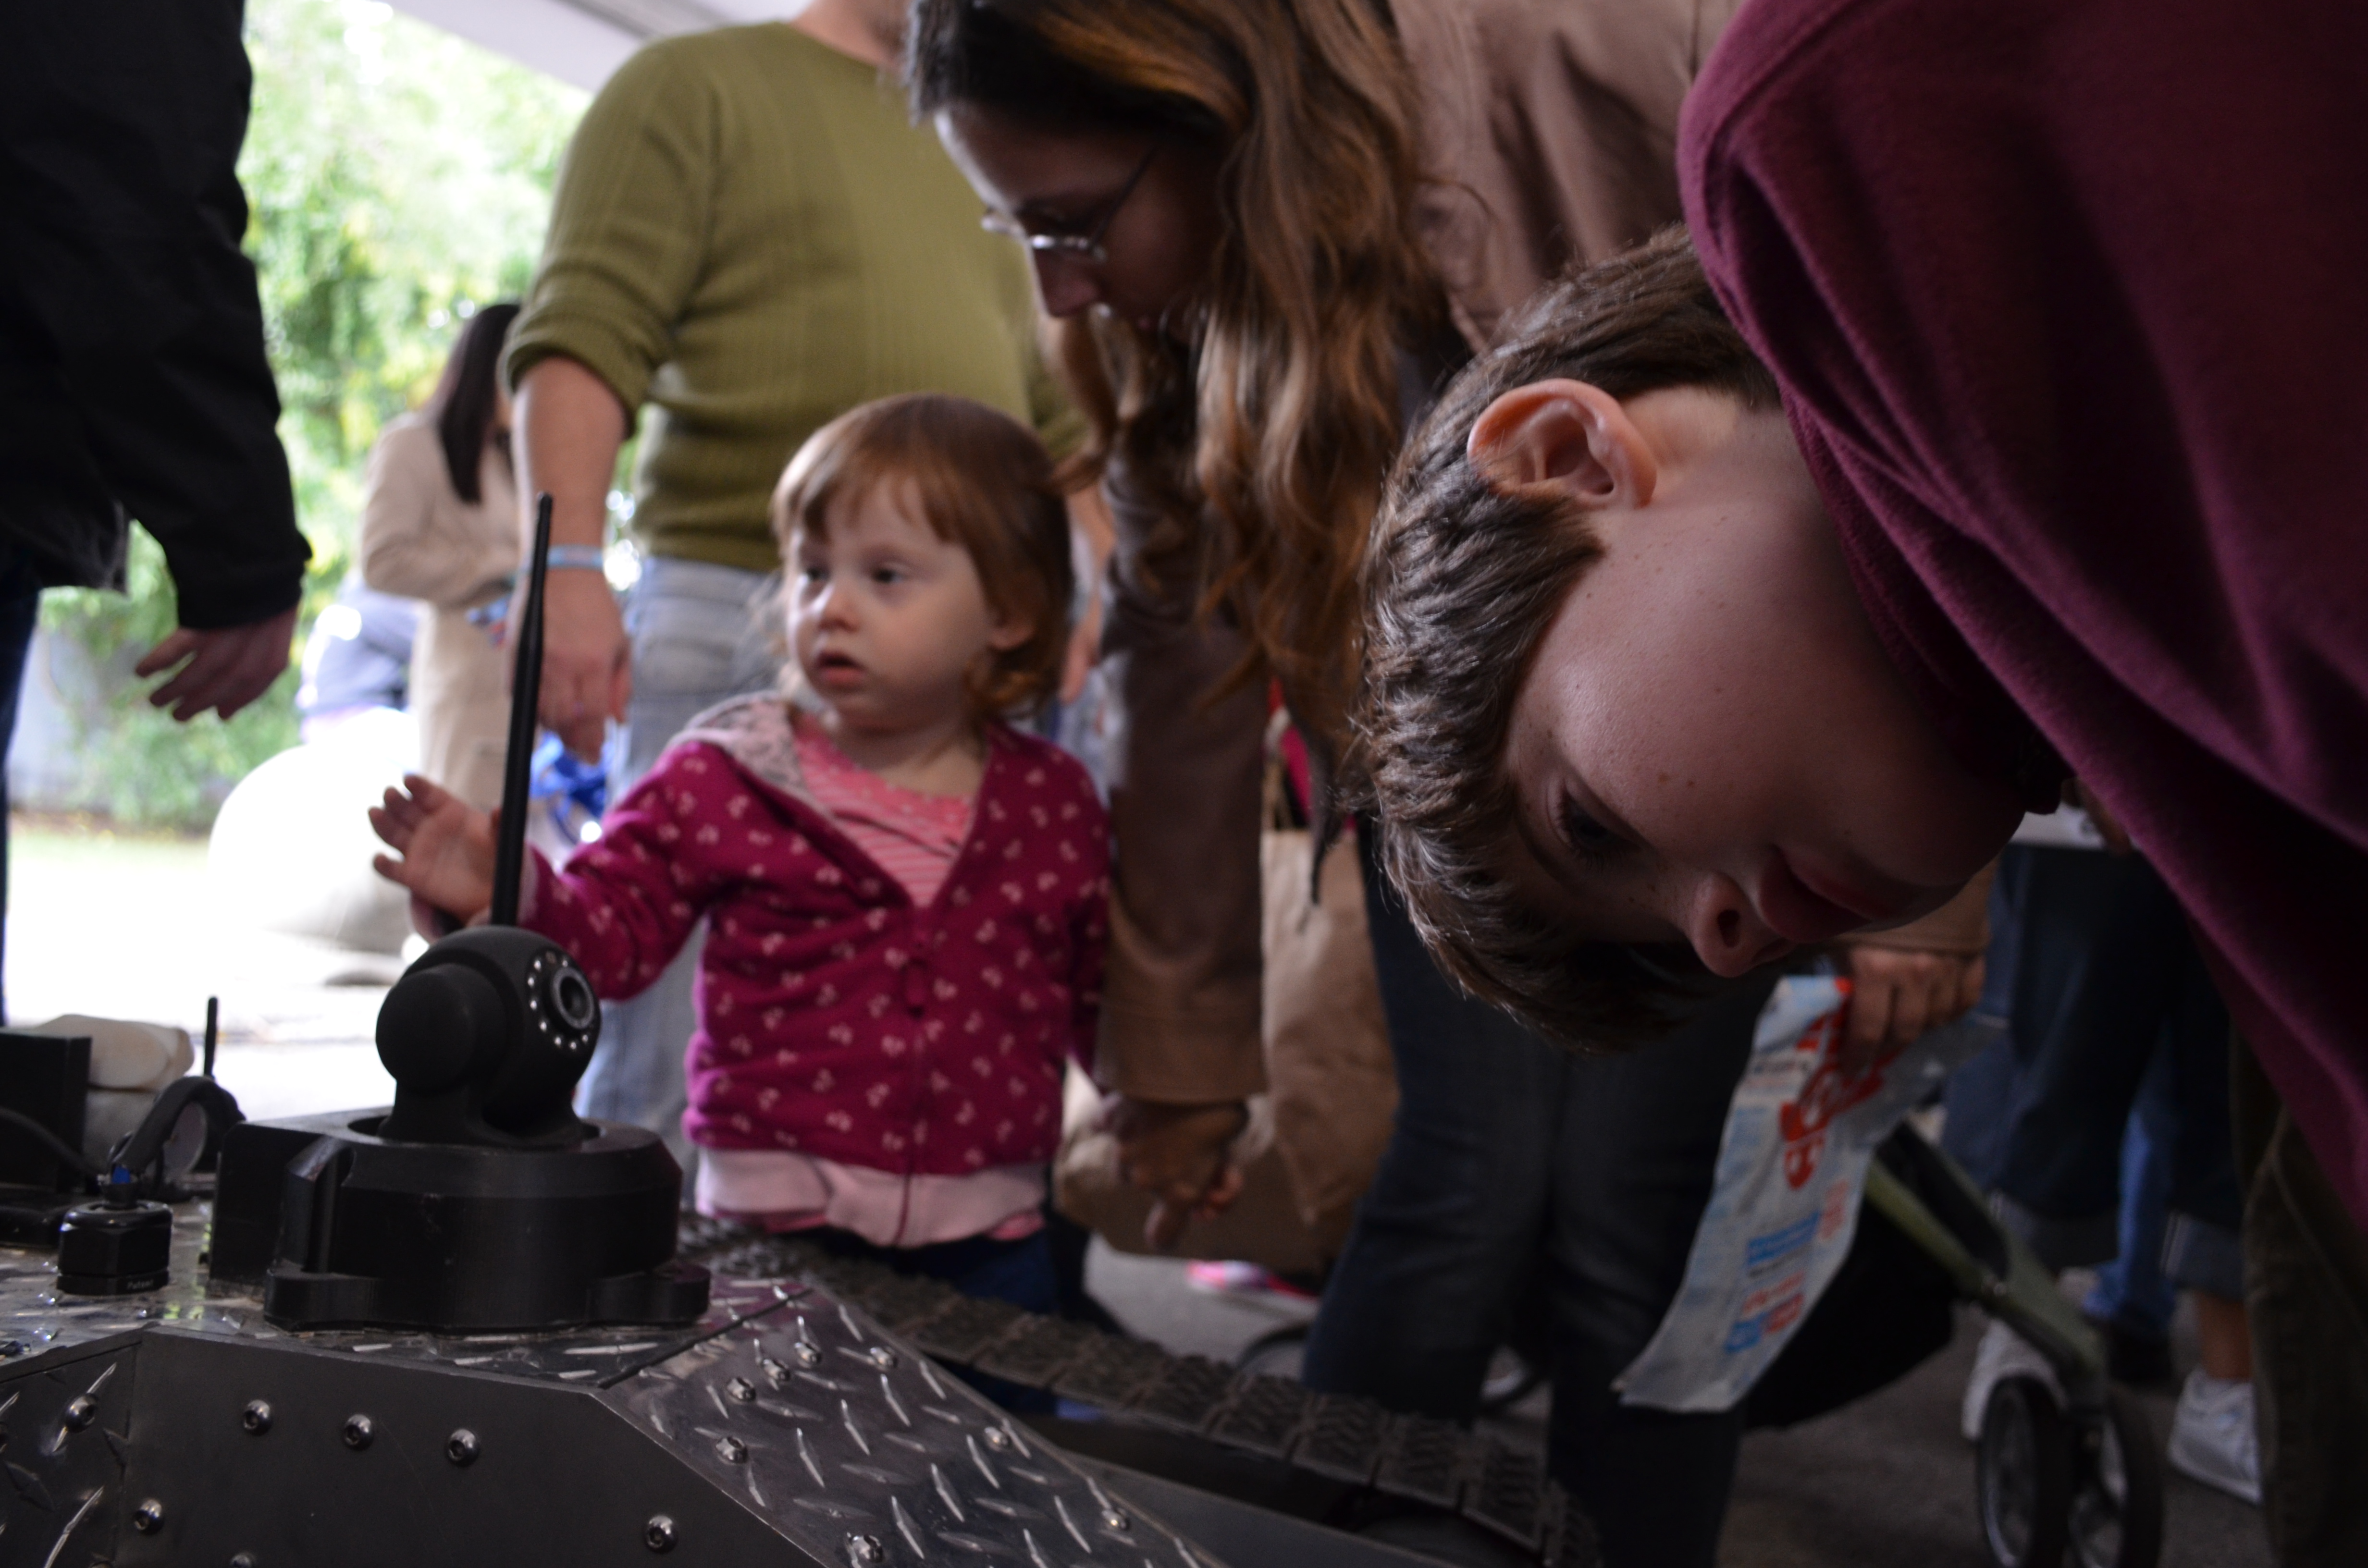
October 13, 2012. We took Bobak to Maker Faire Somerville and had a blast showing it off. We even discovered a wonderful new capability that we will soon post here. For the Faire, we attempted to switch to an alternate RC control scheme not using the onboard-wifi network at all, but it turns out that this creates a huge, battery-destroying current so nevermind that for now! An experimental phone/tablet control interface is in the works, too.
October 7, 2012. On the weekend of September 29, we took the robot to Maker Faire NYC! Woohoo! At the last minute we swapped in some new motors without testing them, but luckily they worked wonderfully! Except on the last day when we decided to drive it the mile back to the parking lot and they overheated and started smoking on a street corner in Queens, New York. Fun! We're mentioned twice in this article on BuzzFeed, here in Hack-a-day, and in the slideshow in this WNYC article. Here are a few pictures (credit Mara Smith):

September 17, 2012. Here's the robot's TV debut on SpikeTV! Also here are some excellent pictures taken by Brooks Canaday for an interview with News@Northeastern.
August 29, 2012. We are touring with the robot! We are taking the robot to New York City twice in September. First, we are filming a segment for Spike TV's All Access Weekly in Times Square that will air September 13. Then for September 29 and 30, we will have the robot at Maker Faire New York! Come say hi!
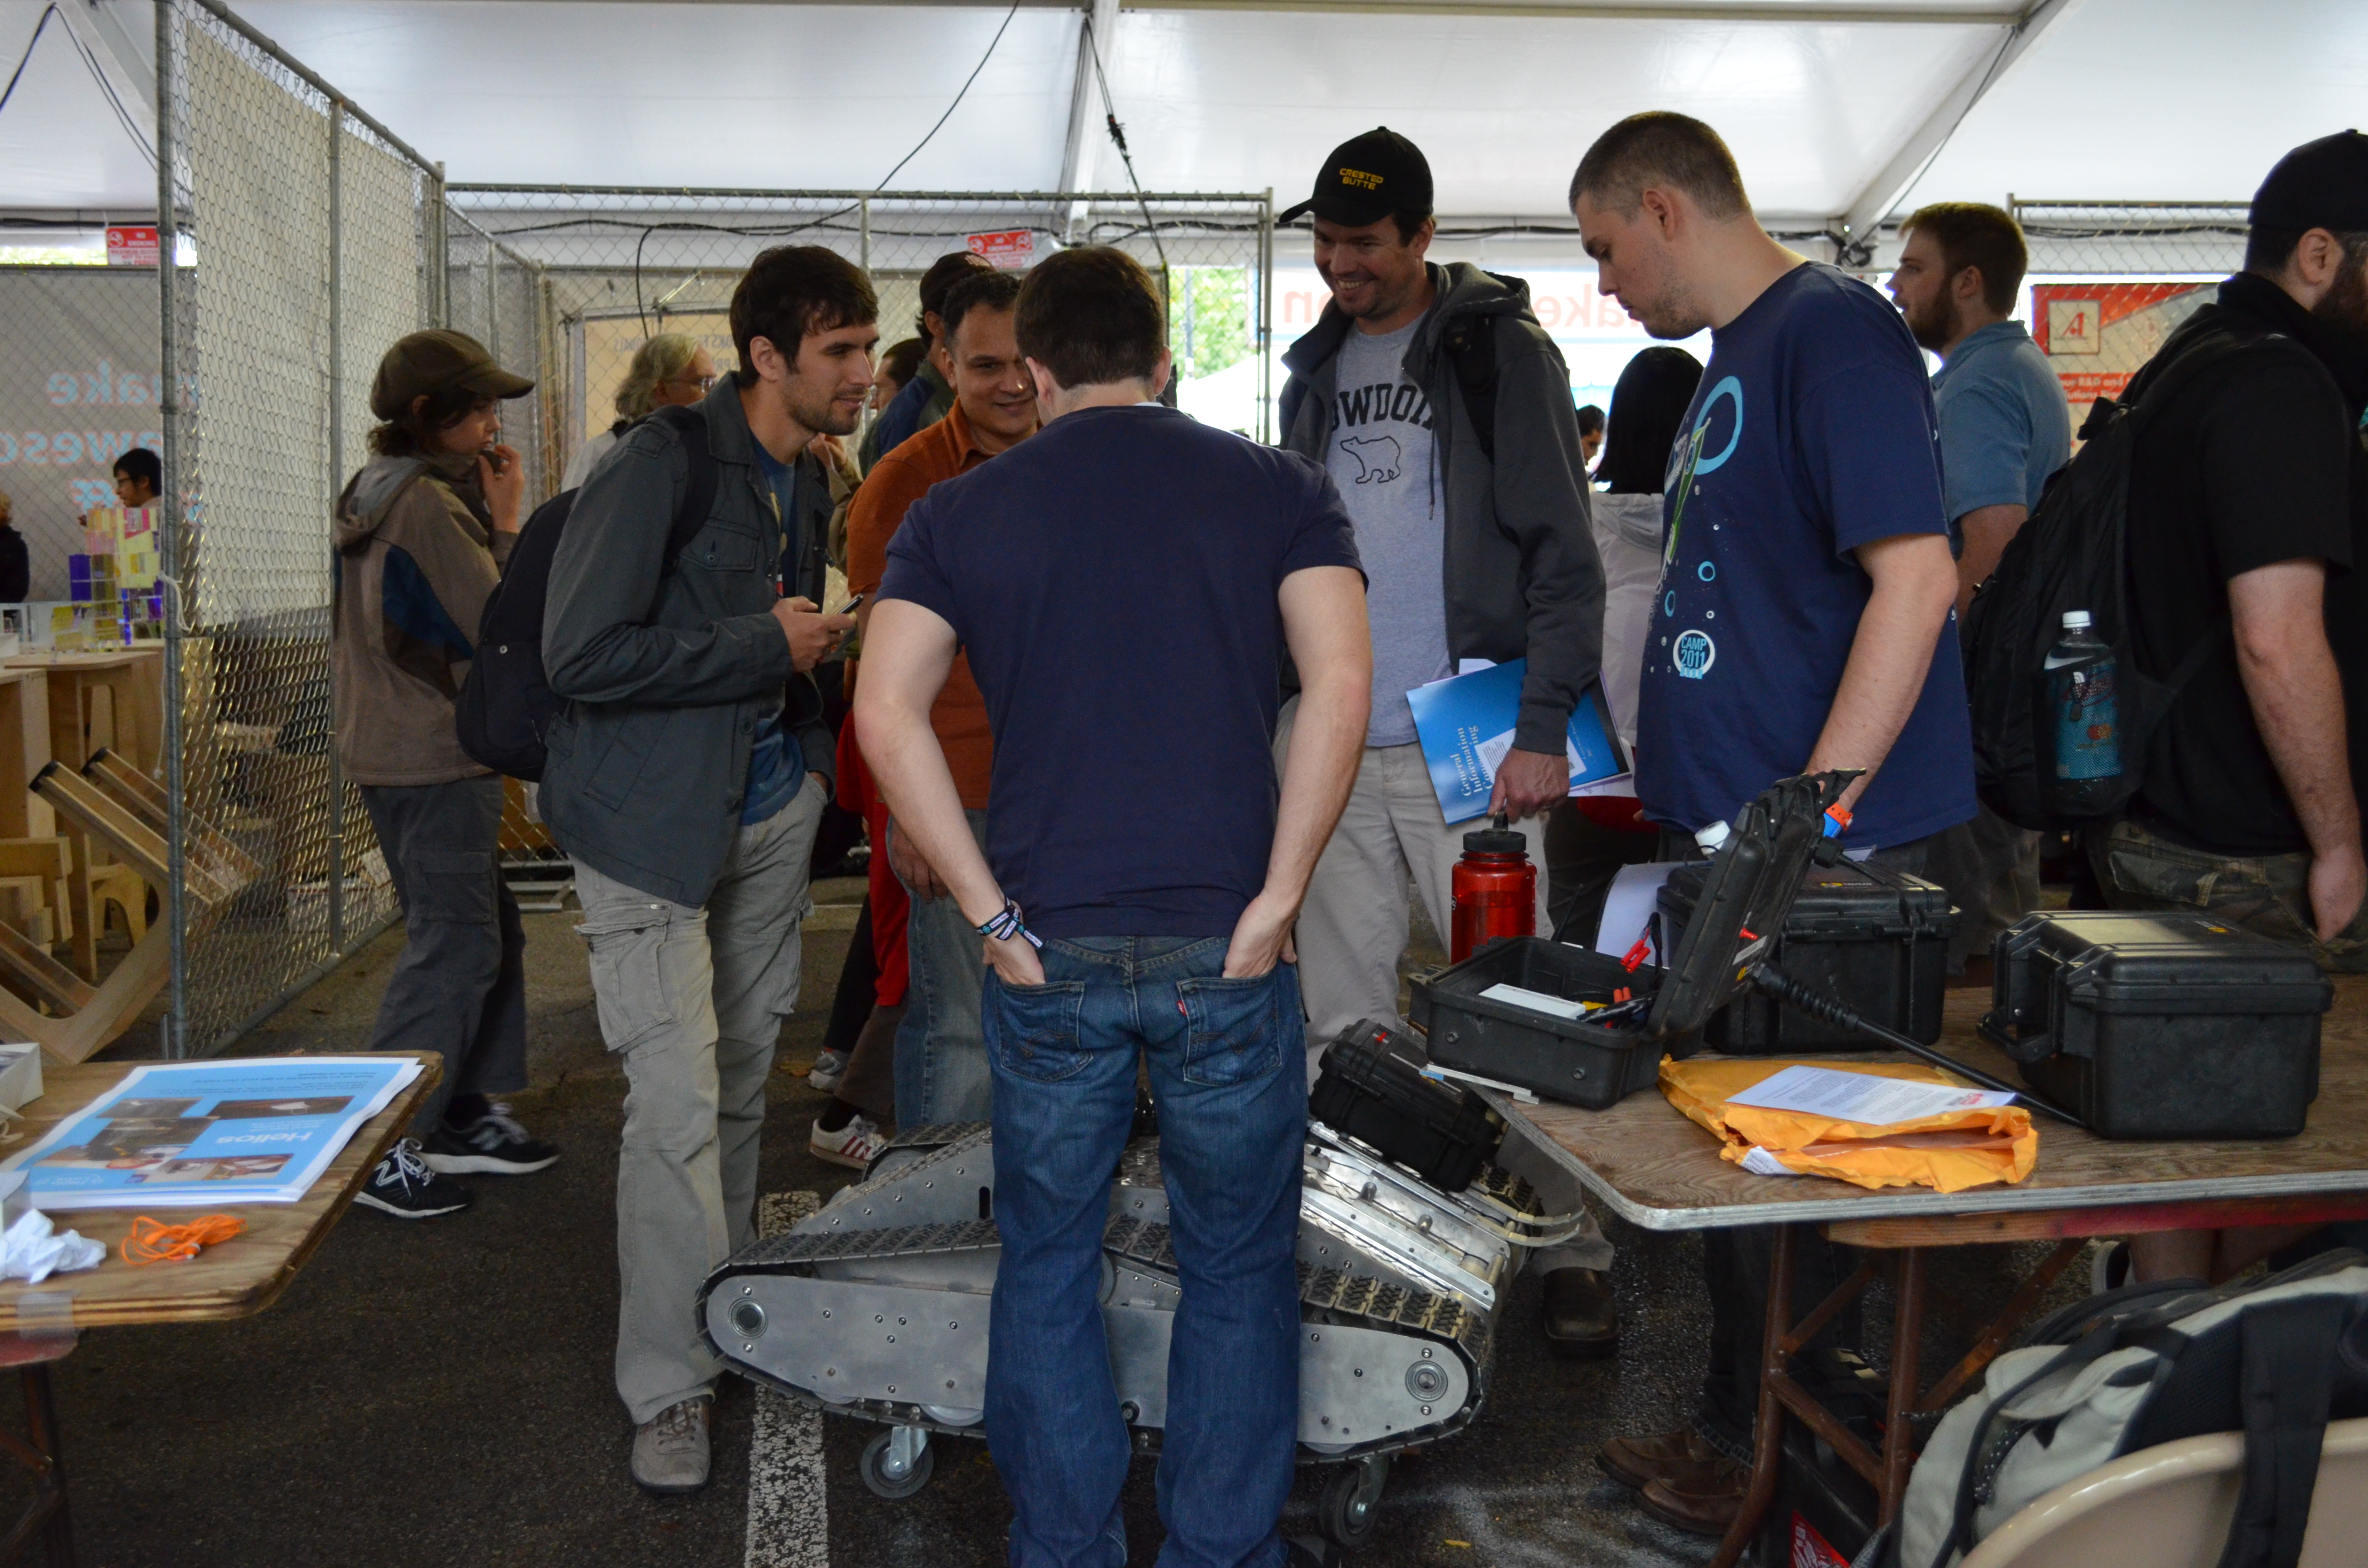
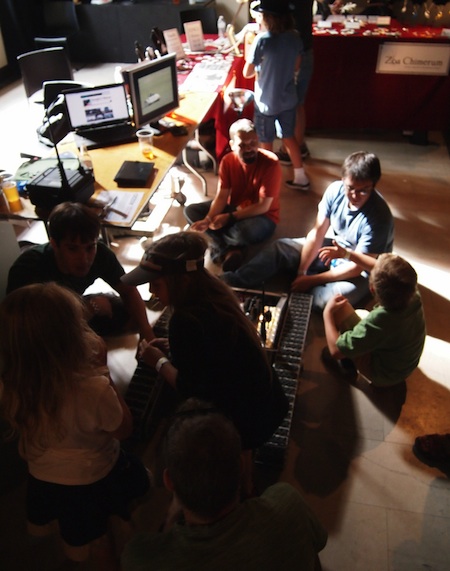
August 11, 2012. We completely rewired the entire robot, making things more organized, modular, and neater. In addition, we used some new motor controllers that can easily handle the kind of current we draw from the motors. What does this mean? Faster, stronger robot. With these fixes, we took it to Maker Faire in Providence, Rhode Island where we did a live demo. Unfortunately one of our gearboxes broke. We will be fixing that in the meantime and running more tests. Below is a picture of us at Maker Faire teaching children how to make world-destroying robots.
August 6, 2012. We were in Engadget! Below is a picture of our robot next to the friggin' Mars rover on the front page of Engadget.